40 Minutes – 1 Portrait
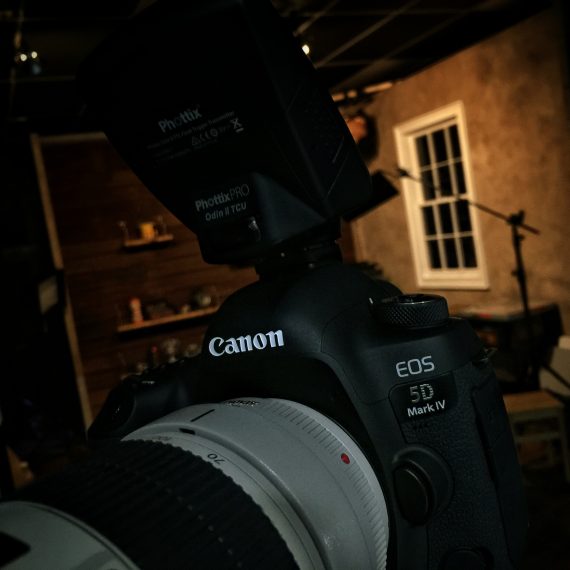
I was sitting in the studio working on a couple of classes for the Fotopromos launch, when I got a call from a friend. As it turned out – he had with him a newly released Canon 5D Mark IV with him and wanted to find out if I wanted to put it through its paces.
The catch? I only had about 40 minutes to try to setup a shot and get it online.
While there are plenty of times that I will get a chance to really play with a bit of tech and get a complete feel for the breadth of the new offering – it’s also important to note that getting a limited amount of time with something as eagerly anticipated as the Mark IV is also very commonplace. The goal here is to make sure that you don’t squander the opportunity. Your job is to make a quick assessment. What do you have in terms of scene? What do you have in terms of lighting? Once you put those things together, you form a concept.
Forming the concept is the photographic equivalent of setting a target 30 yards from you. You make the statement that you intend to hit the center of the target. You then try to use what you know to see if you can hit the target.
Thats photography in its essential form.
The Shoot Walk-Through

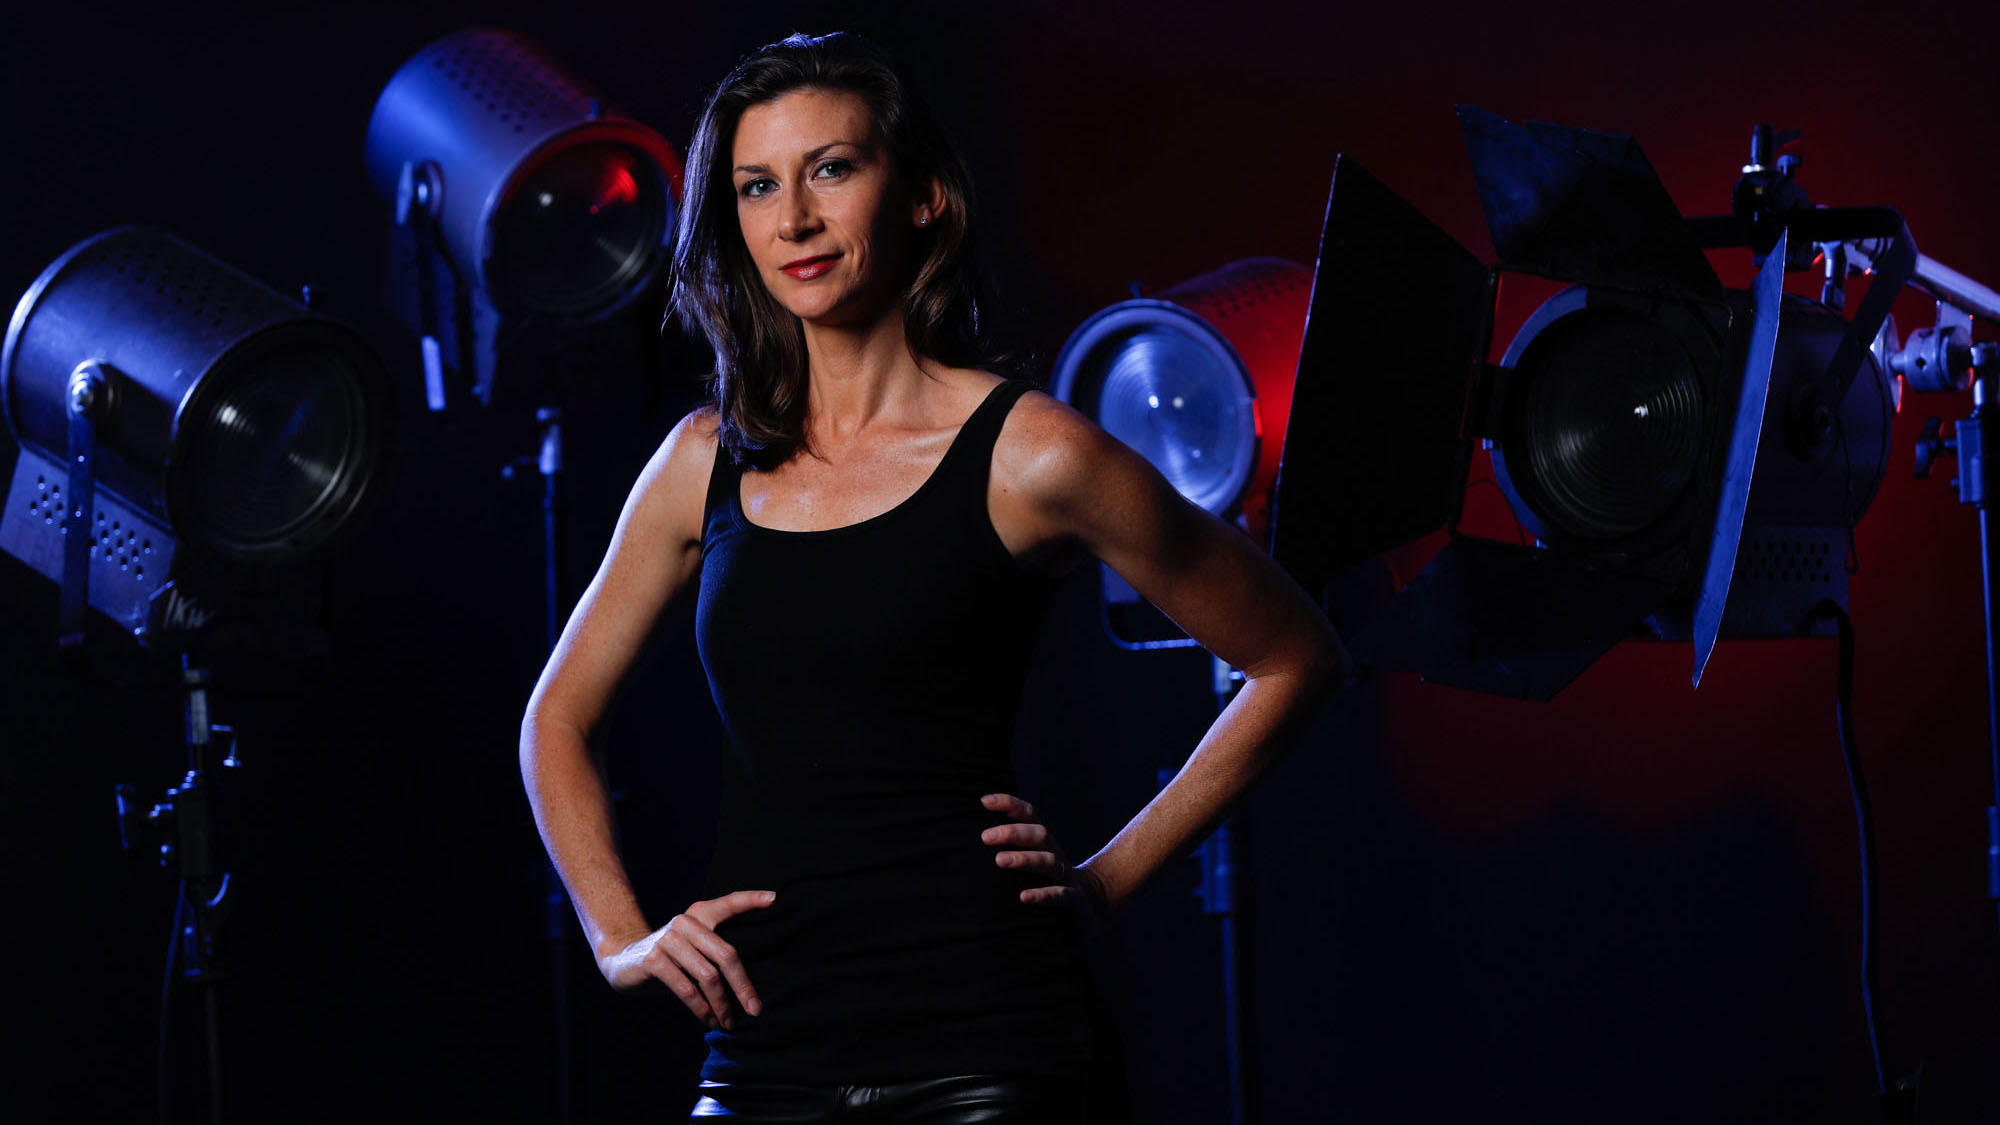
Right now, my studio is more setup for video production than it is portrait work. I’ve gone old school with a lot of the lighting for my video projects – opting to use the Altman 175Q focusing fresnel 1000w hot lights. Not really having any other scene set up I came up with an idea. What if I took these lights and used them as props instead of light sources? I could stagger them in front of a black wall and use accent lights in different spots to paint in some color. Stands are on some Kupo 40” C-Stands in doubling for Photo/Video work in the studio.
The target was set. In an effort to keep things light and nimble I opted to use the Phottix Indra 500 lights as a main and atmosphere light. The lights would give me the punch that I needed and could easily be moved because they were battery powered. No need to mess around with cords here – no time. The main Indra 500 would be set with a collapsible beauty dish from Phottix.
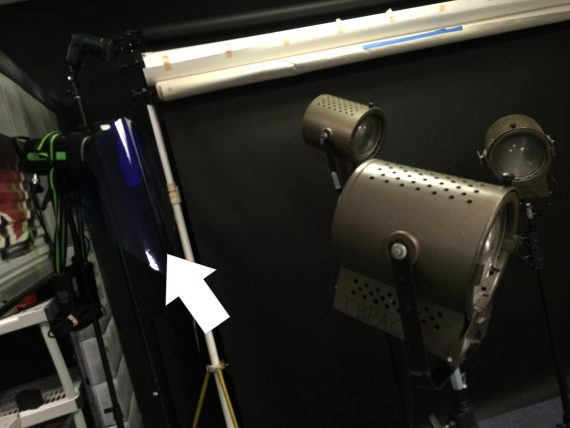
I wanted the second light to add a bit of color to the scene, so I set another Indra 500 to the back of one of the lights. I added a colored gel to it so I could get some blue onto the scene. While this gave me a great look for the left side of the image, the light wasn’t really spreading to the back light the way that I really wanted it to.
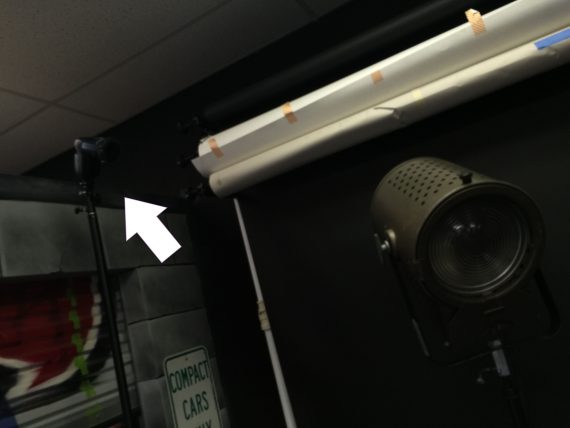
I needed a small focused light source to hit the top part of this Altman light. To do that I went with the Phottix Mitros+ small flash. Attached to it is a RougeFlash Grid with a blue color from the Rouge Flash Gels.
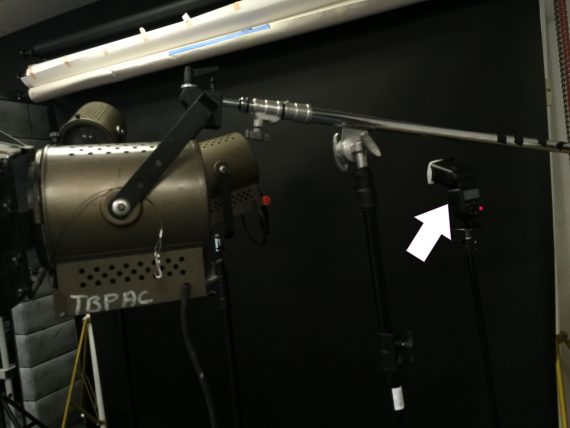
I wanted to add another bit of color to the right side of the scene. To do this, I setup another Phottix Mitros+ small flash light and got a red gel from the Rouge Flash Gels
Using the Phottix Odin II
Another reason I wanted to setup the lights using the Phottix system was that I could quickly move around all of the power ratings on both the big lights and small lights with the Odin II transmitter. I knew what I was looking for in the lights so i set the lights for Group A for the main, B for the red accent and blue side light, and C for the accent light at the top right on the Mitros. I was good to go.
Facebook Live of the Shoot
While everything was set- I made a couple of test shots and fired off a live stream from my Facebook Page, showing the BTS of the shots.
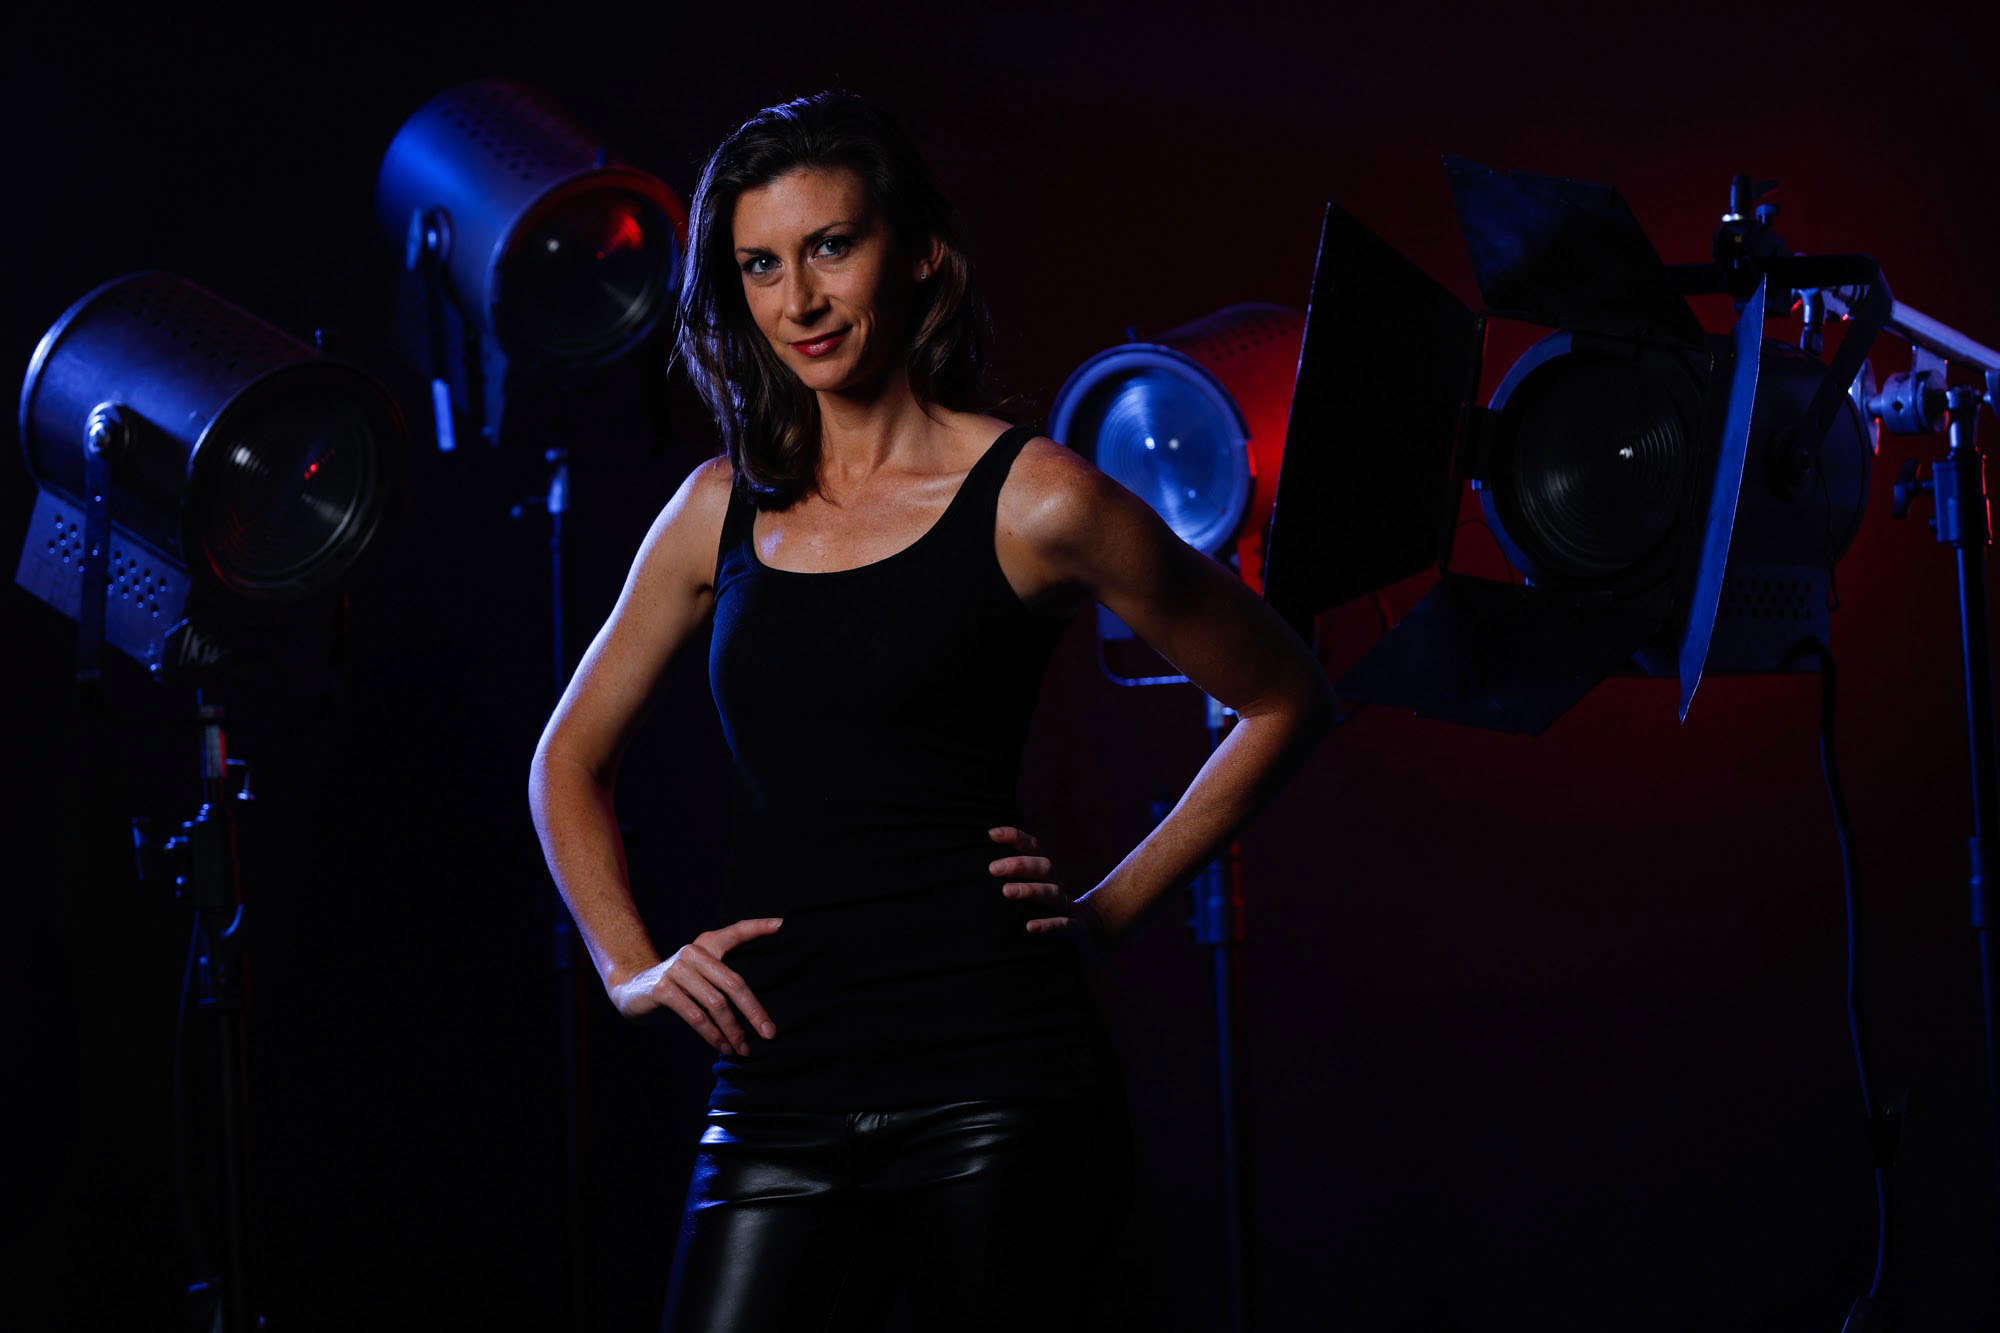
This was the full shot that we ended up with
Removing the Red Light
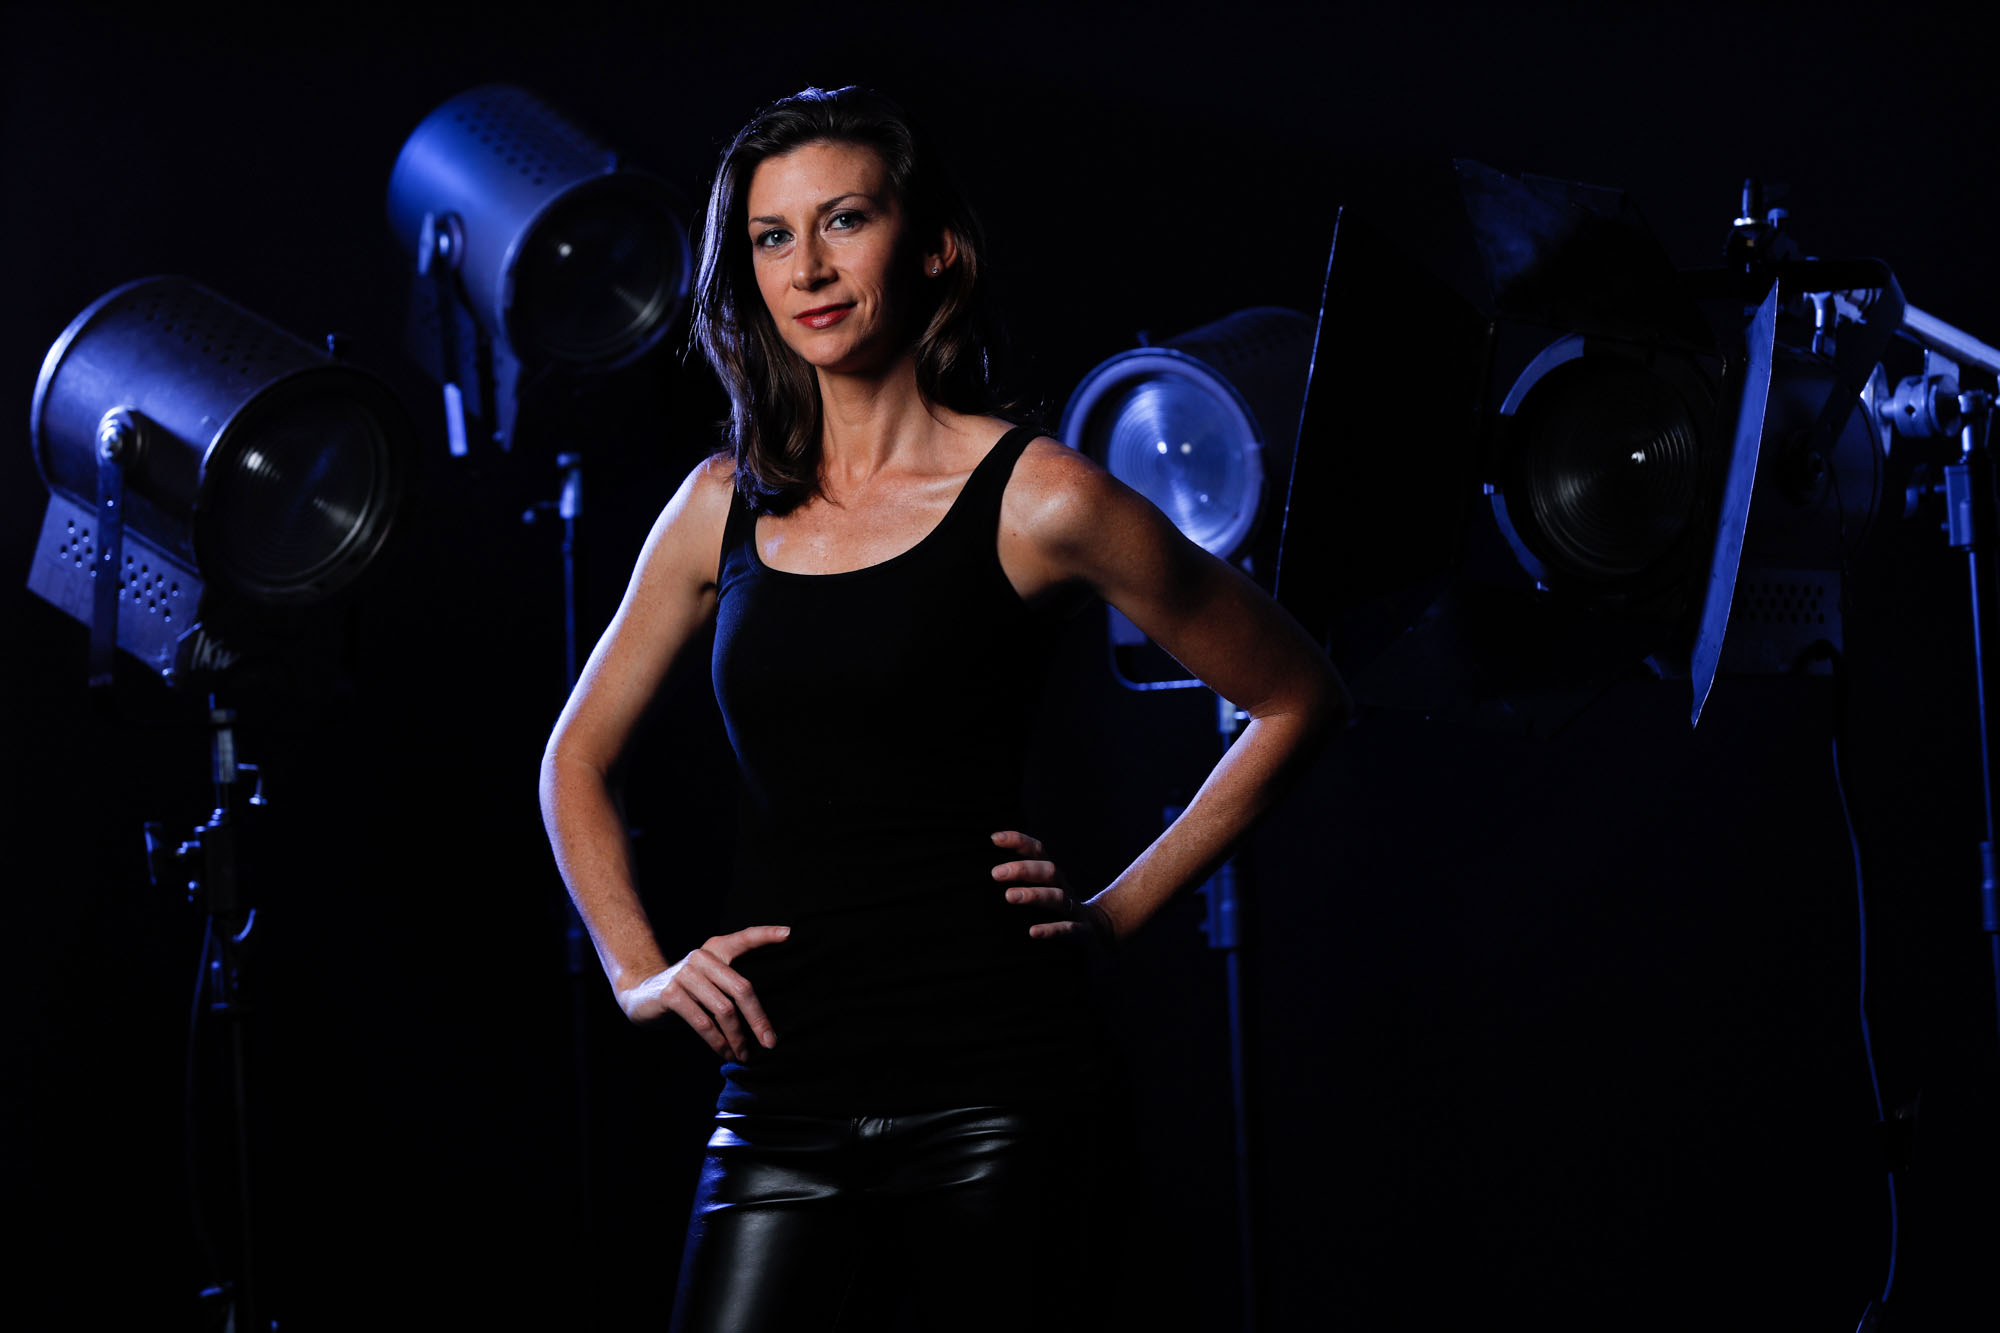
After shooting the pictures, I wanted to see what one of the shots looked like without the red gel – and to be honest, I think I prefer this shot a little more than the one with the red to the right of it.
First Impressions – Good!
In the short amount of time that I had with the camera – I was pretty impressed with the overall build quality. The camera felt good in the hand, and solid. I really apprecaited the focus button on the back of the camera, and thought that the touch screen on the back of it was a really nice plus for zooming into the picture, as well as accessing functions from the Q menu. Image quality looked really good, and I felt like I could push and pull the file with a good amount of success. When I get a little bit more time with the camera, I’m going to be particularly interested in checking out the Wifi/NFC capabilities, as well as seeing how well it does in making 4K footage.
One of the things that I usually tell people with new technology like this is that it’s always very hard to make an informed decision based on how someone else worked with the camera. This is quite a bit of money to spend for an upgrade – and while I feel that it could be worth it, it really warrants you going out and playing with the camera yourself. Take it out, and put it through a couple of shoots on your end – see if the features that they bring fit with the shooting style you have. To that – i’ve always been a fan of going out and renting a camera first to see how it works for me. I would recommend you guys go and check Borrowlenses – as I just found out that they are now in stock with it.
I know that’s where I am headed to give this thing another whirl. For now, color me impressed on the new offering by Canon. Hope you enjoyed the look behind the scenes!
A special thanks to my buddy Mia McCormick for helping me out as a photo subject on short notice. Totally appreciated it!


